Intro to Workspaces
Your Closot workspace is your digital home base. Whether you're flying solo, working with a small team, or operating across an entire organization — everything you build and manage in Closot lives here.
Workspace Basics
Every Closot workspace is made up of two main areas: the sidebar and the editor.
Sidebar
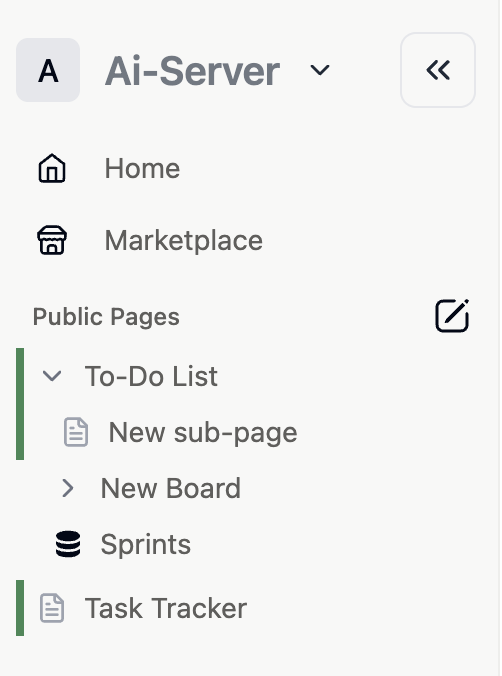
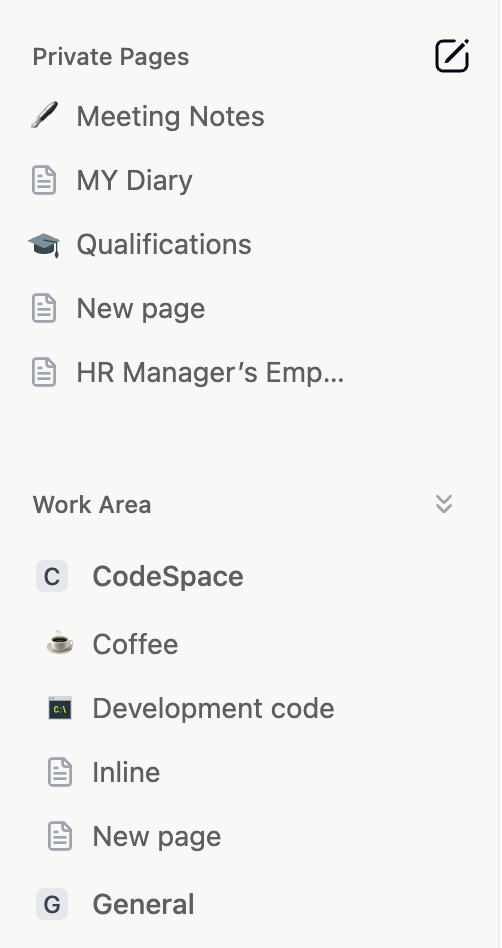
The sidebar runs along the left side of your screen and acts as your primary navigation system. Everything you create — pages, databases, folders — shows up here. Key things to know:
- Pages can be nested infinitely inside one another
- Multiple customizable sections can be reordered to suit your workflow
- Quick-access tools like Settings and Trash live at the bottom
Editor
The editor is where all your content actually lives. It's a distraction-free canvas for writing, planning, and building — top menus quietly fade out once you start typing so nothing gets in the way.
Sidebar Tools
Control Panel
At the very top of your sidebar, you'll find a set of quick-access tools:
| Tool | What It Does |
|---|---|
| Workspace switcher | Switch workspaces, create new ones, log out, or access Settings |
| Search | Open the search window and jump to any page |
| Home | See the pages and tasks that need your attention |
Sidebar Sections
Your sidebar organizes content into distinct sections:
- Workarea — shared team content lives here
- Shared — Pages accessible to more than one person
- Private — Your personal pages, visible only to you
Settings & Templates
| Item | Purpose |
|---|---|
| Settings | Adjust your Closot preferences and workspace configuration |
| Templates | Open the template picker with 50+ starter layouts |
Creating New Pages
A few ways to start a fresh page:
- Click the 📝 icon at the top of the sidebar
- Keyboard shortcut:
Cmd+N(Mac) orCtrl+N(Windows/Linux) - On mobile: tap the 📝 icon at the bottom of the screen
Sidebar Hover Options
Hovering over any page in the sidebar reveals two handy controls:
+— Add a nested subpage inside the hovered page•••— Access options: Delete, Duplicate, Copy link, Rename, Move to
Editor Tools
Breadcrumb Navigation
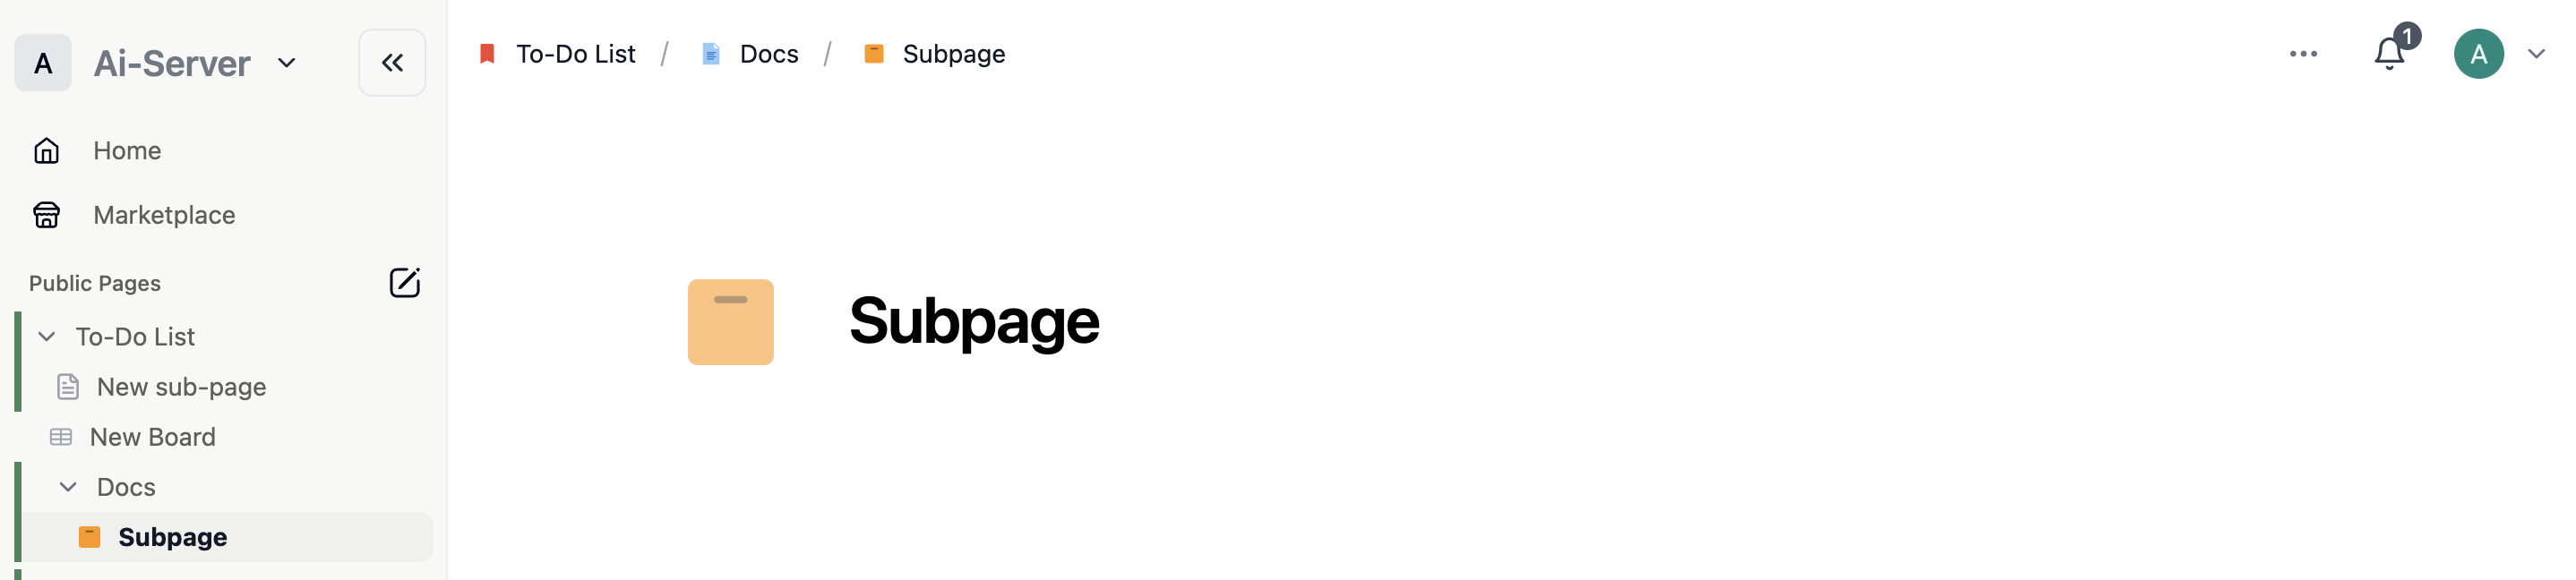
At the top of every page, breadcrumbs show exactly where you are in your content hierarchy. Click any crumb to jump directly to that page. When the path gets long, intermediate pages are compressed to ....
Collaborators
The profile photos of everyone with access to a page are visible at the top right. Hover over any avatar to see the person's name and email. Greyed-out avatars mean someone has access but isn't currently active — colored ones indicate live presence.
Share Menu
The Share panel lets you control exactly who can see or edit a page:
- Each row represents a person or group with access
- Use the dropdown next to each entry to change their permission level
- Copy link — Grab the page's unique URL to share anywhere (access rules still apply)
- Invite — Add new people by email, whether they're workspace members or external guests
••• Menu
The three-dot menu at the top right and left of any page opens a set of powerful options:
| Option | Description |
|---|---|
| Move to | Send the page to a different workspace |
| Activity | Review recent edits, views, and contributors |
| Version history | Browse and restore past versions of the page |
| Import | Bring in content from ZIP, CSV, PDF, Markdown, text, and HTML files |
| Export | Download the page as CSV, Markdown, PDF, or HTML |
Team vs. Personal Workspaces
Personal Workspaces
Every new page defaults to private until you explicitly choose to share it. Your content stays yours unless you decide otherwise.
Team Workspaces
In team workspaces, pages added to Workarea are visible to all members. Everyone shares the same sidebar organization, though individual toggle preferences (expanded vs. collapsed) are saved per person.