Create, Join & Leave Workspaces
Starting out, one workspace is usually all you need. As your usage grows — separate projects, different teams, personal vs. work — multiple workspaces let you keep everything cleanly divided.
Create a New Workspace
- Open the workspace switcher at the top left of Closot
- Click
•••next to your email account - Select Join or create workspace
- Review any workspaces available for auto-joining
- Click Create workspace to start a fresh one
- Complete the setup flow
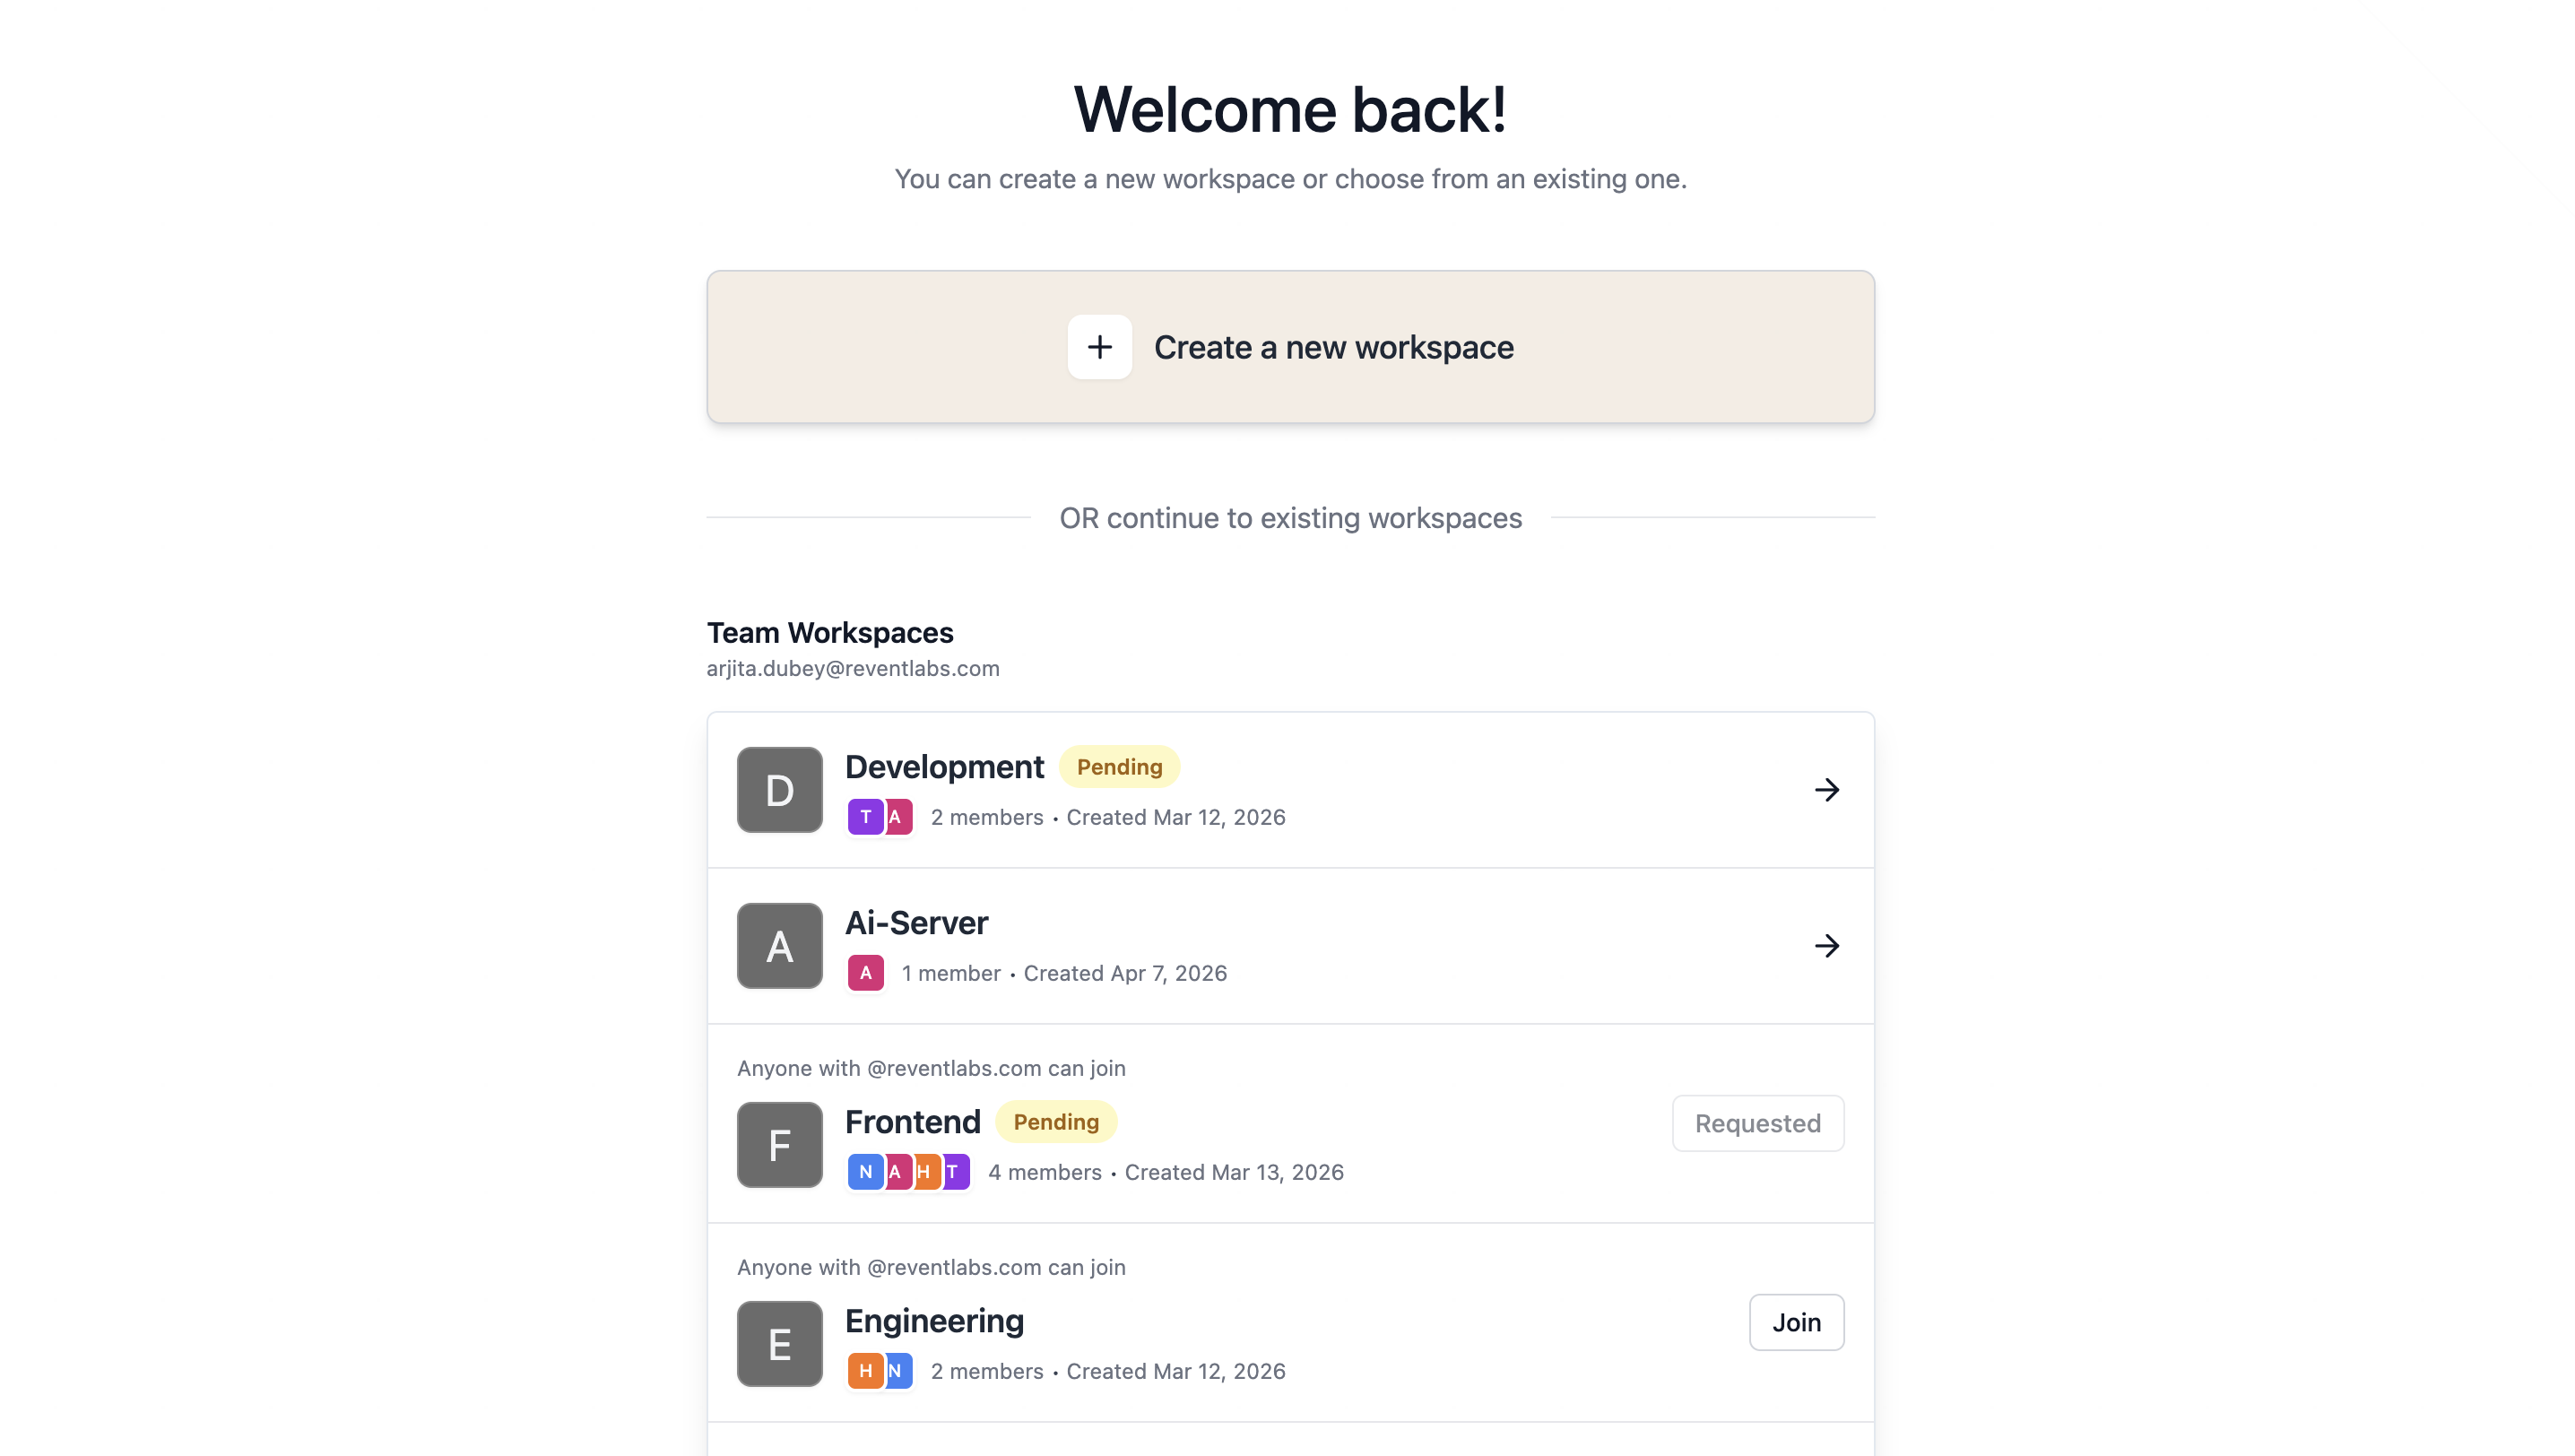
Use separate workspaces to partition things like personal notes, side projects, and client work — keeping each context clean and focused.
Join an Existing Workspace
Two paths to joining:
- Invite link: An admin sends you an email invite. Sign in with that email to join as a paid member.
- Auto-join: If your email domain is listed in the workspace's Allowed Email Domains, you'll see it in the Join or create workspace menu and can join directly.
Personal email domains (Gmail, Outlook) and most school emails can't auto-join other workspaces. If you need to access a workspace tied to a different email address, use Add another account.
Switch Between Workspaces
Click your current workspace name to open the switcher, then select any workspace from the list.
Keyboard shortcut (desktop): Ctrl + Shift + # — where # is the workspace's position in the list.
You can also reach Settings directly from the workspace switcher.
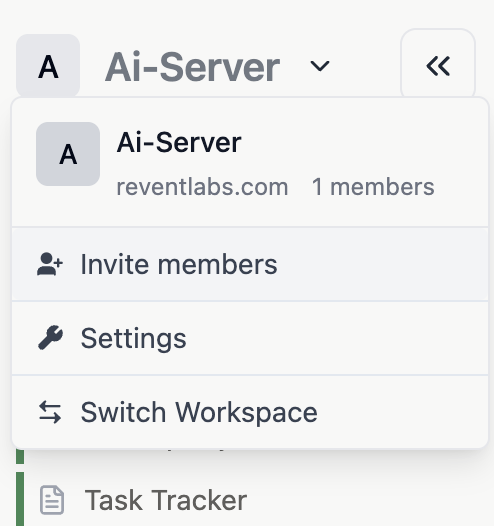
Leave a Workspace
Leaving a workspace removes your access to all content inside it. You'll need an admin to re-invite you if you want back in.
Steps:
- Go to Settings in the sidebar
- Under Workspace, select General
- Scroll down to the Danger zone section
- Click Leave workspace
Add Another Email Account
If you use Closot under multiple email addresses, you can keep them all accessible in one place:
- Open the workspace switcher
- Click Add another account
- Sign in with your other email
- Both accounts — and all their workspaces — will appear in the dropdown going forward
This is the cleanest way to maintain work/life separation without juggling separate browser sessions.
Log Out of an Account
Log out of one account:
- Open the workspace switcher
- Click profile icon next to the account
- Select Sign out