Create & Manage Groups
Groups let you bundle workspace members together so you can manage permissions for an entire team in one action rather than configuring access person by person. Instead of adding each member of your design team to every design-related page individually, create a group and share once — every member in the group gets access simultaneously.
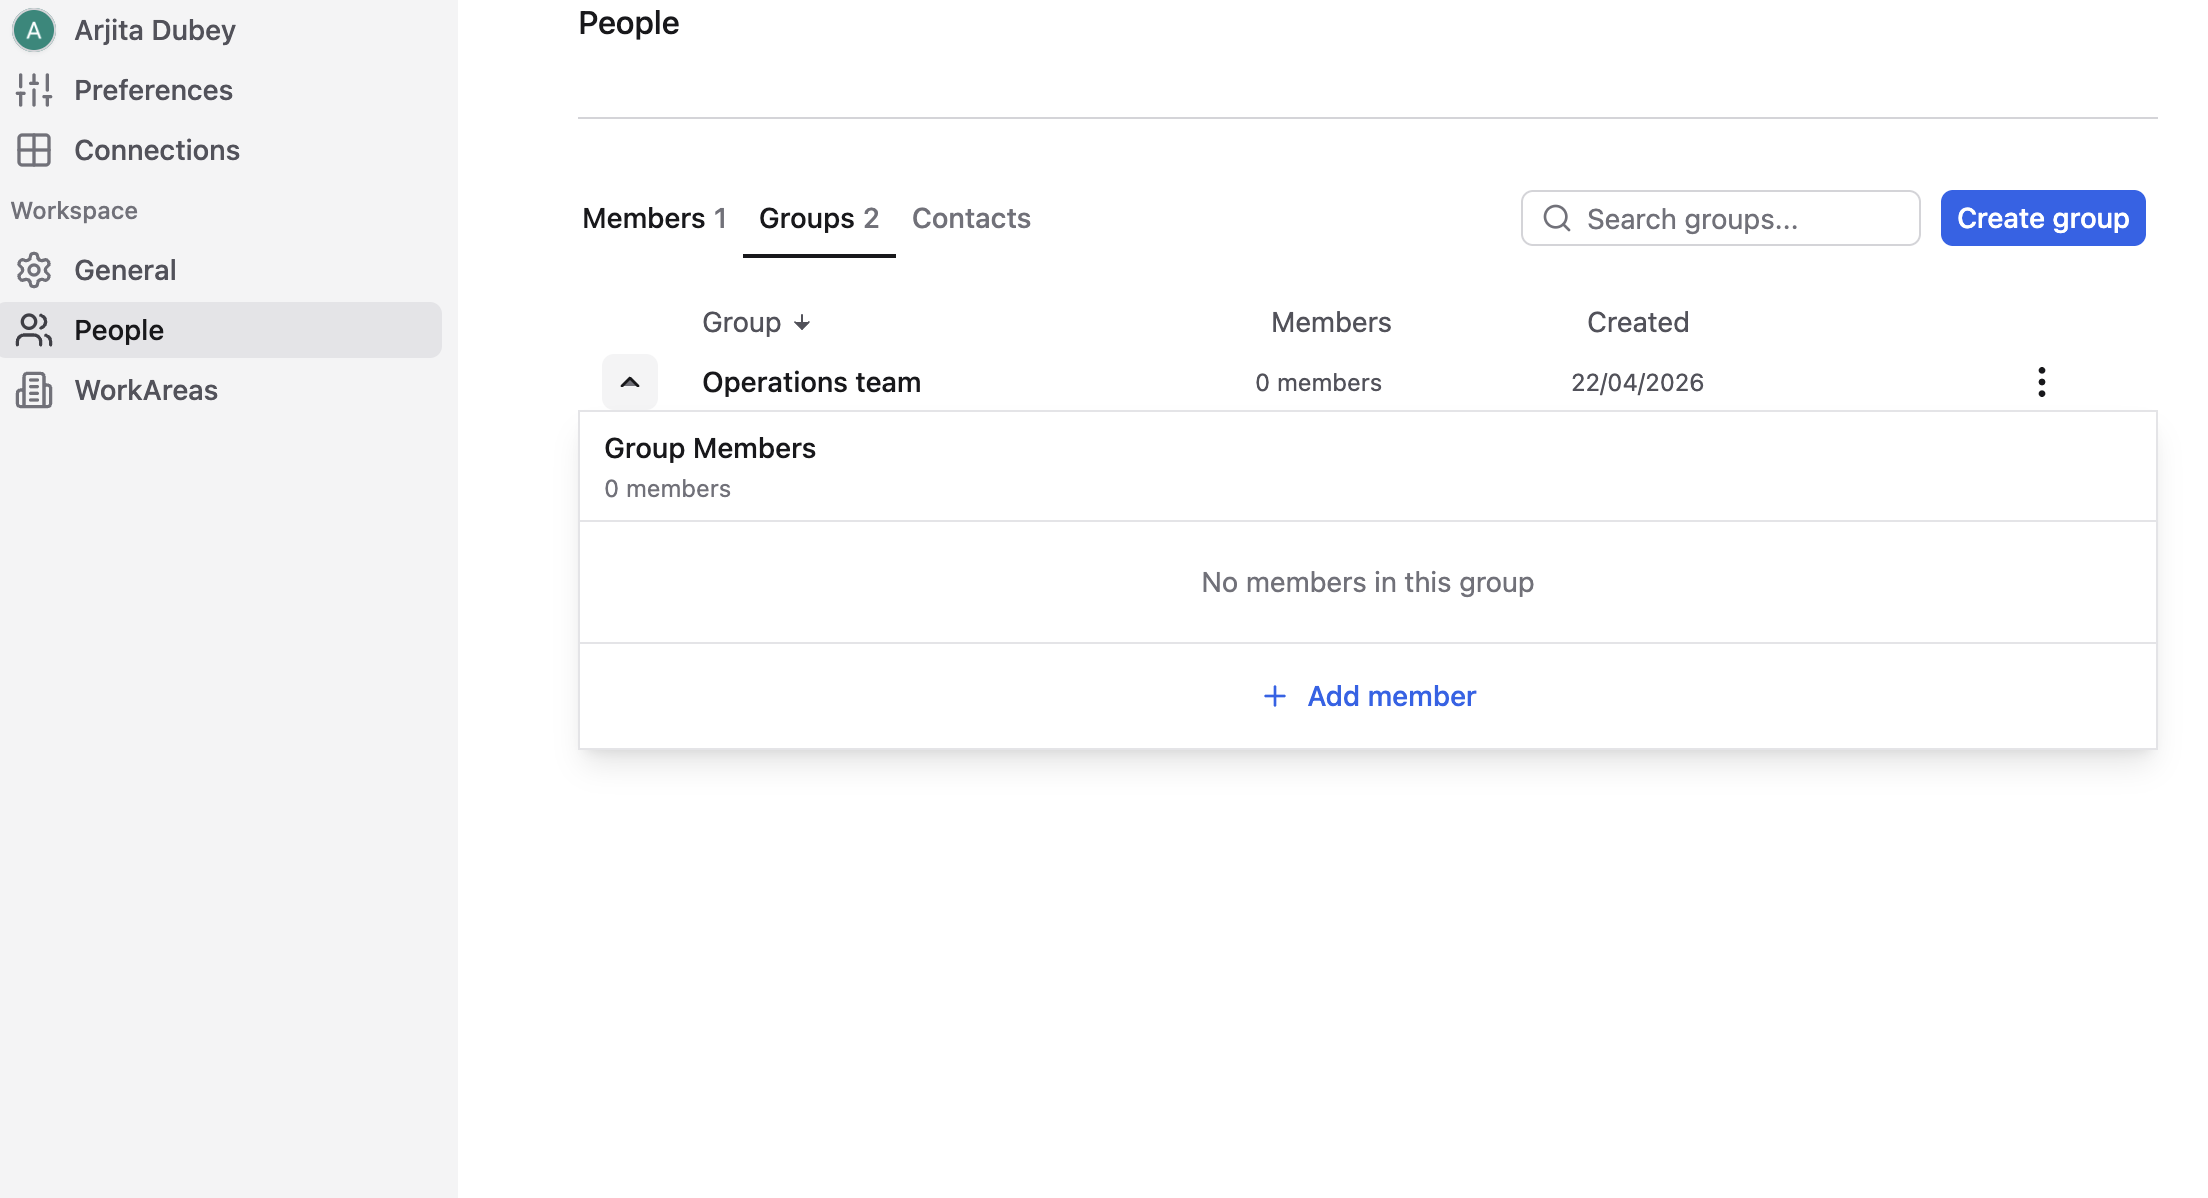
Only workspace owners and membership admins can create and edit groups. Groups can only contain workspace members — guests cannot be added to a group.
Create and Edit a Group
- Go to Settings → People (or Members) → Groups tab
- Click Create a group and enter a name
- Click the emoji icon to assign a group icon
- Toggle the group open and click Add members
- Search by name or email to find and add members
- To remove a member, click Remove next to their name
- Use the
•••menu on any group to rename, create a workarea from it, or delete the group
Share Pages with a Group
- Open the Share menu on a page
- Click Invite
- Select the group from the bottom of the search popup
- Choose a permission level from the dropdown
- Click Invite
Permission levels available for groups:
| Level | What group members can do |
|---|---|
| Full access | Edit content and share the page with others |
| Can edit | Edit content; cannot share ** |
| Can comment | Leave comments; cannot edit |
| Can view | Read-only |
| Remove | Revoke group access |
Permissions cascade automatically to all subpages. Adjust at any time from the Share menu.
Share Workareas with a Group
- Hover over the workarea name in the sidebar
- Click
•••→ Workarea settings - Search for the group and add it to the workarea
Mention a Group
Type @ followed by the group name anywhere on a page. You can also add a group to a Person property in a database.
When a group is mentioned, each member can receive a notification depending on the notification settings configured for that property or page.