Intro to Databases
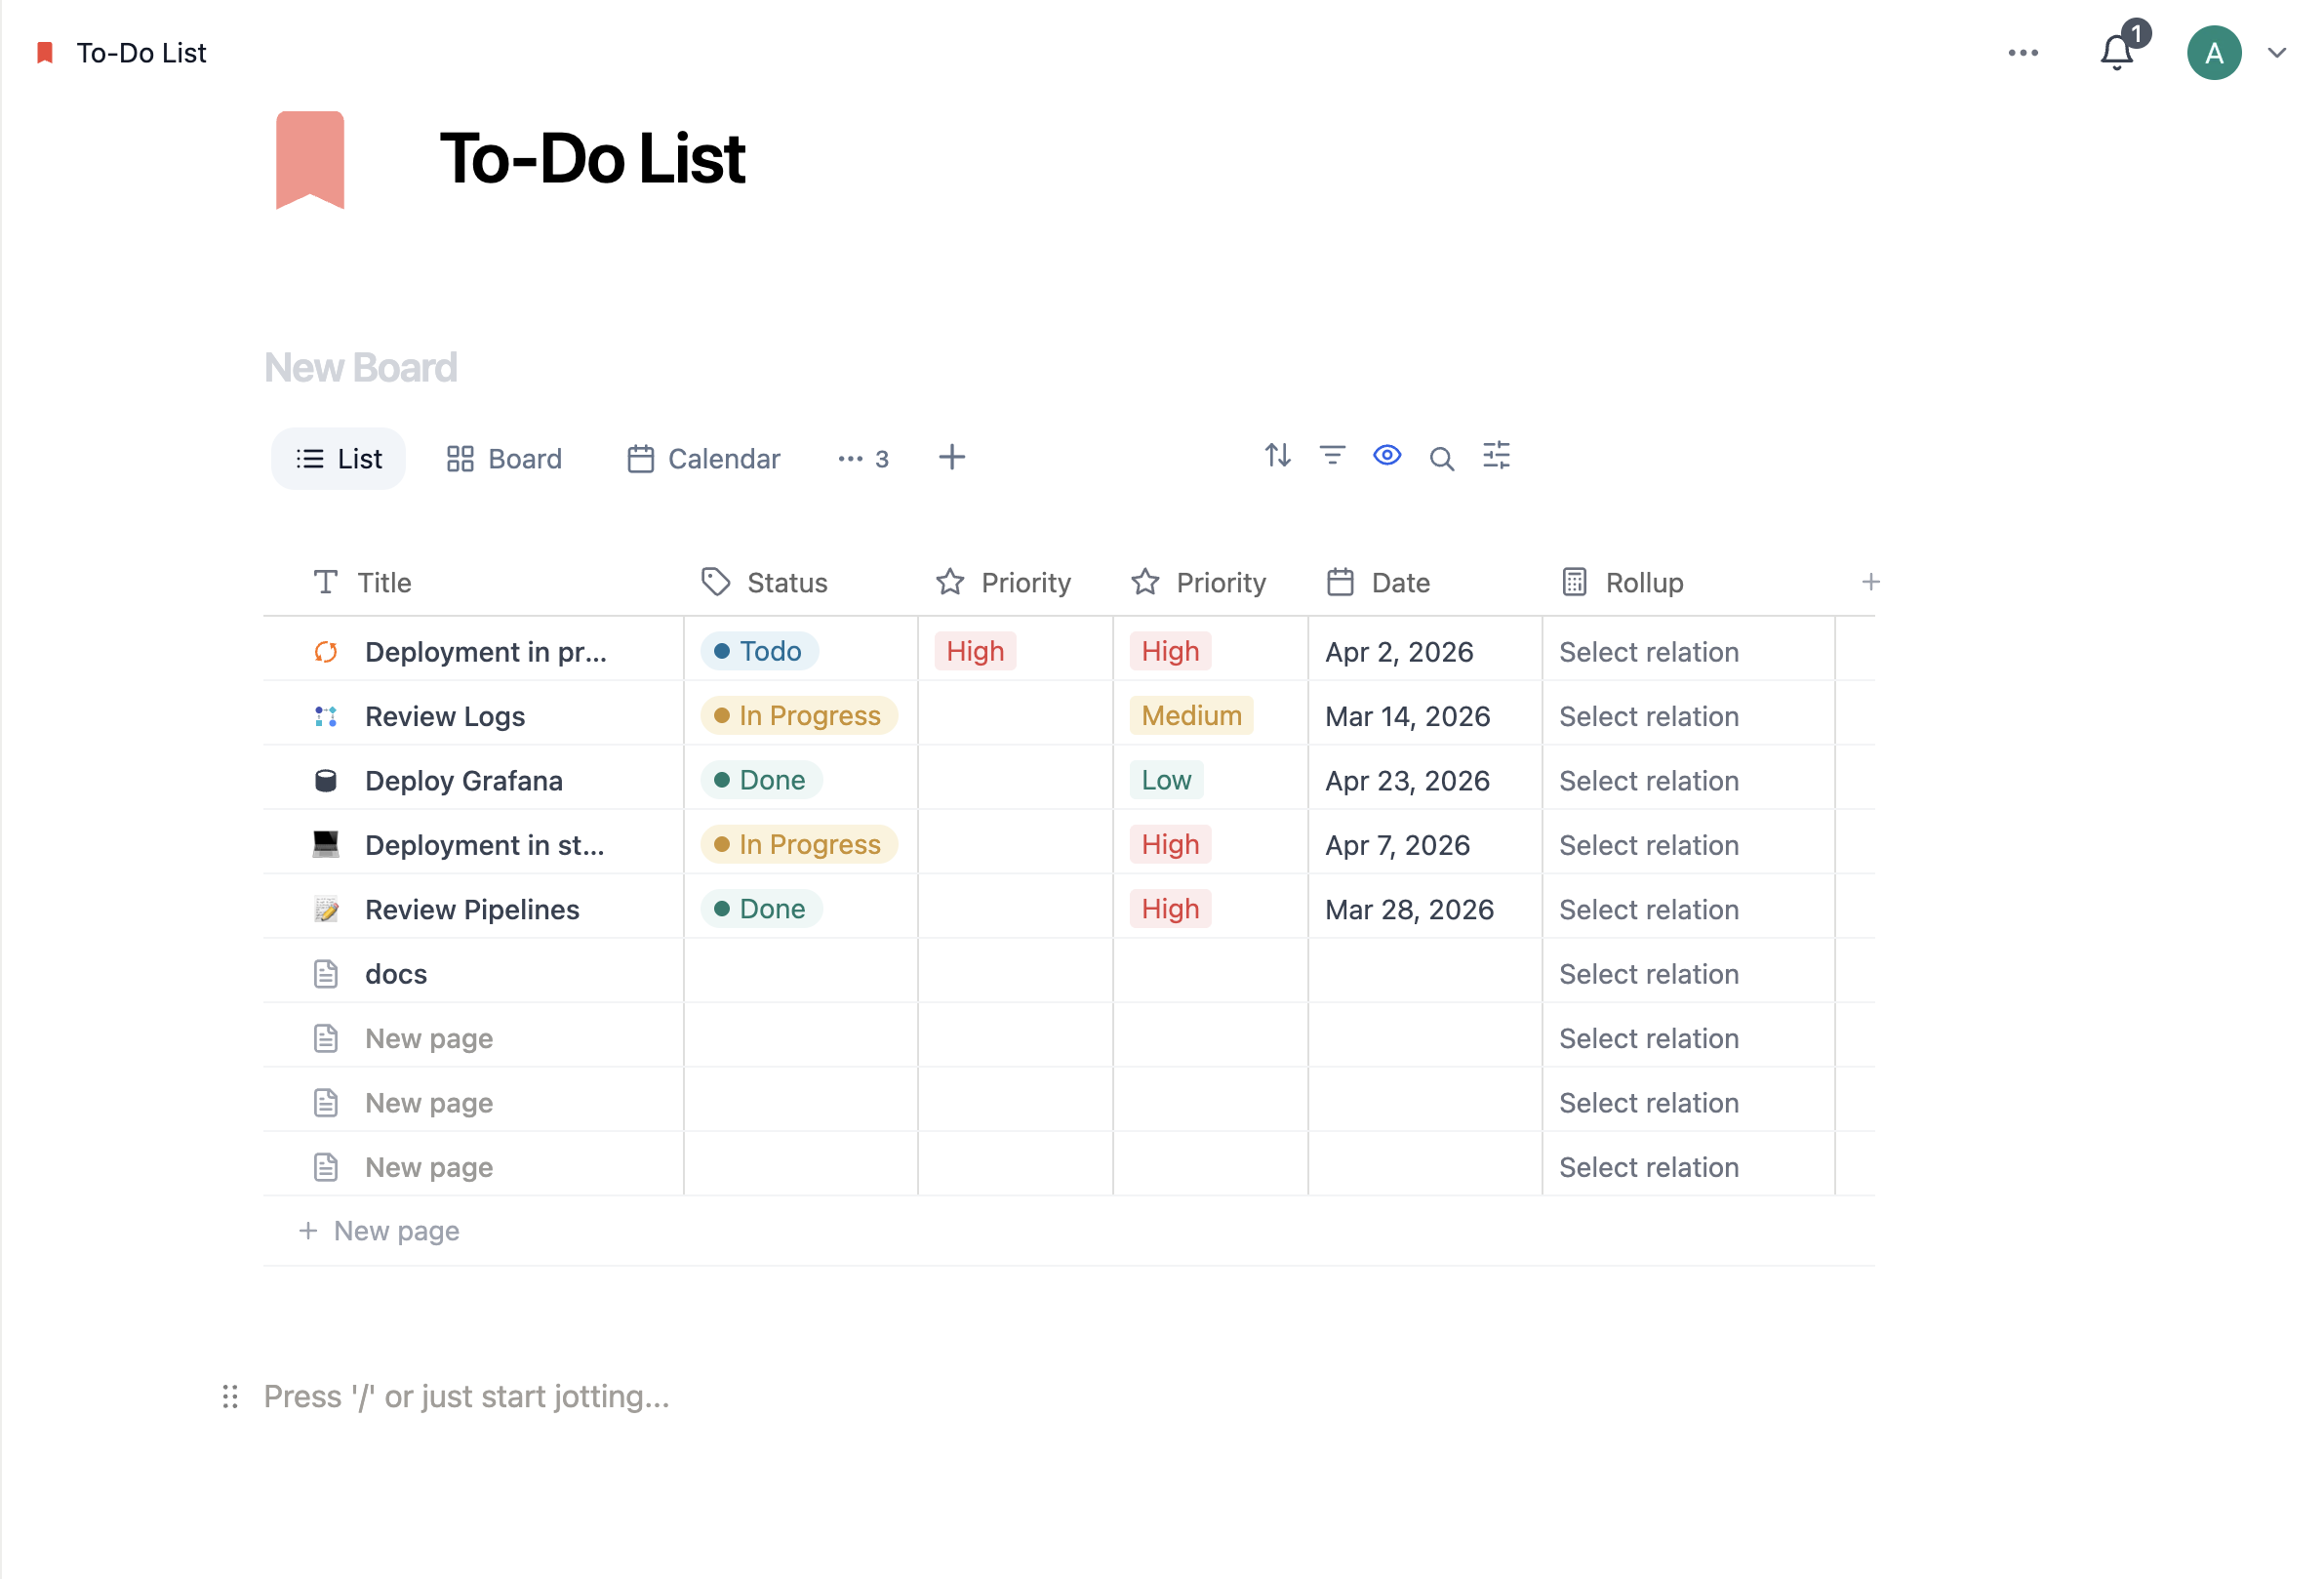
Databases are one of the most powerful things you can build in Closot. At their core, they're collections of pages — but they're far more capable than that label implies. Each item inside a database is its own fully functional Closot page. You can write inside it, embed files, attach properties, add comments, and nest other content. The database simply gives you a structured container to hold everything together and see it all at once.
Whether you're tracking a content calendar, managing a bug backlog, building a product roadmap, or running a client directory — databases are how you make it happen in Closot.
What Makes a Database Different from a Plain Page?
A regular Closot page holds content linearly. A database holds structured collections of pages, where every item:
- Is its own full page with its own content area
- Can have properties attached (status labels, due dates, assignees, custom tags, etc.)
- Can be viewed, filtered, sorted, and grouped in multiple ways
- Can be related to other databases across your workspace
Think of it like this: if a plain page is a document, a database is a living spreadsheet where every row opens into a complete document of its own.
Key Characteristics of Closot Databases
Every Item Is Its Own Page
When you add a row to a database table, you're not just adding a record — you're creating a full-fledged Closot page. Click to open it, and you'll find all the database properties at the top, plus an open canvas below for notes, attachments, embedded content, sub-pages, or anything else you need to capture.
For example, in a software bug tracker database, each bug entry isn't just a row with a status and priority — it's a page where you can document reproduction steps, attach screenshots, leave comments for the engineering team, and track the full resolution history.
Properties Add Structure and Context
Properties are the metadata columns that live alongside each database item. They let you tag, categorize, date, assign, and measure your data. You can add as many properties as you need — due dates, priority levels, owner assignments, URL references, checkbox completions, custom tags, and more.
Once your data has properties, Closot unlocks filtering, sorting, and grouping so you can slice your database any way that's useful.
Multiple Visualizations, One Dataset
The same database can be displayed in completely different ways depending on what you're trying to do. You might look at your project tasks in a table when you want a full overview, switch to a board when you want to see work-in-progress stages, and open the calendar when you're doing sprint planning. The underlying data is always the same — only the lens changes.
Closot supports the following view types:
- List — classic spreadsheet-style rows and columns
- Board — Kanban cards grouped by a property
- Timeline — Gantt-style project bars across time
- Calendar — items plotted by date
- Gallery — image-first card grid
- Chart — data visualized as bar, line, or donut charts
- Dashboard — multiple views and charts in one panel (Business/Enterprise)
- Form — collect structured input that feeds into the database
Multiple Data Sources in One View
A single Closot database can draw from more than one data source simultaneously. This means you could build a unified operations dashboard that pulls from your team members database, your active projects database, your budget tracker database, and your milestone tracker — all in one place, without duplicating any data.
Database Types
Full-Page Databases
A full-page database lives as its own top-level item in your sidebar, just like a regular page. You can open it directly, share it, lock it to prevent structural changes, and link to it from anywhere in your workspace.
- Appear as independent pages in the sidebar
- Convertible to inline format by dragging into another page
Inline Databases
An inline database is embedded inside another Closot page rather than living on its own. It's useful when you want a database to live in context — for example, embedding a task tracker directly inside a project brief page.
- Database controls appear only when you hover over the block
- Appear as subpages under their parent page in the sidebar
Creating a Database
You have a few different ways to create a database in Closot:
- Slash command — type
/Liston any page and pressEnter - New page shortcut — create a new page and select
Listfrom the "Get started with" options - Build with AI — describe what you want and let Closot AI scaffold the structure for you
- From a template — start with a pre-built database structure from the Closot template library
Adding Items to Your Database
Right click on an item to reveal a list of actions. Those actions include:
Delete: Deletes the item from your database.
Duplicate: Creates an exact copy of the item.
Copy link: Copies an anchor link to that specific item to your clipboard.
Rename: Lets you rename the page in your row without opening it.
Move to: Lets you move the row to another workspace or page (where it will show up as a subpage).
Edit property: Brings up a menu with all your table's properties. Click the one you want and then click the new value for it
Customizing Database Pages
Every page inside a database can be customized independently. When you open a database item, you can:
- Control which properties are always shown, hidden when empty, or always hidden
- Toggle backlink display on or off
- Show or hide page-level comments
- Apply a custom layout that organizes properties exactly how you want them
You can also right-click any database item directly from the database view — without opening it — to quickly:
- Delete or duplicate the item
- Copy a direct link to the item
- Rename it inline
- Move it to a different workspace or page
- Edit property values directly from the context menu
Collaboration and Permissions
Closot databases support granular permission levels to keep collaborative data safe.
The "Can edit content" permission level lets a collaborator:
- Create new database pages
- Edit existing page content and property values
- Delete items they have access to
But it restricts them from:
- Modifying database structure (adding/removing/renaming properties)
- Creating or deleting views
- Applying database locks
This makes it safe to give team members data-entry access without worrying about them accidentally restructuring your entire database schema.
Locking a Database
You can lock a database at any time to freeze its structural configuration while still letting people enter and edit data. This is useful when you've finalized your database design and want to prevent accidental changes.
To lock: open the settings menu at the top of the database → toggle Lock database on.
Up next: Views, filters, sorts & groups — Learn how to control exactly what you see and how your data is organized across every view.